Response Templates
 Updated
by
Support Team
Updated
by
Support Team
Response Template
What is it for?
After you've started reaching out to your preferred leads and arranged your Touchpoint Templates, responses will start coming in. You can, of course, manage your responses in a pre-edited template, and depending if the candidate is interested or not, Fetcher makes it really easy to do so.
Editing your Response Templates
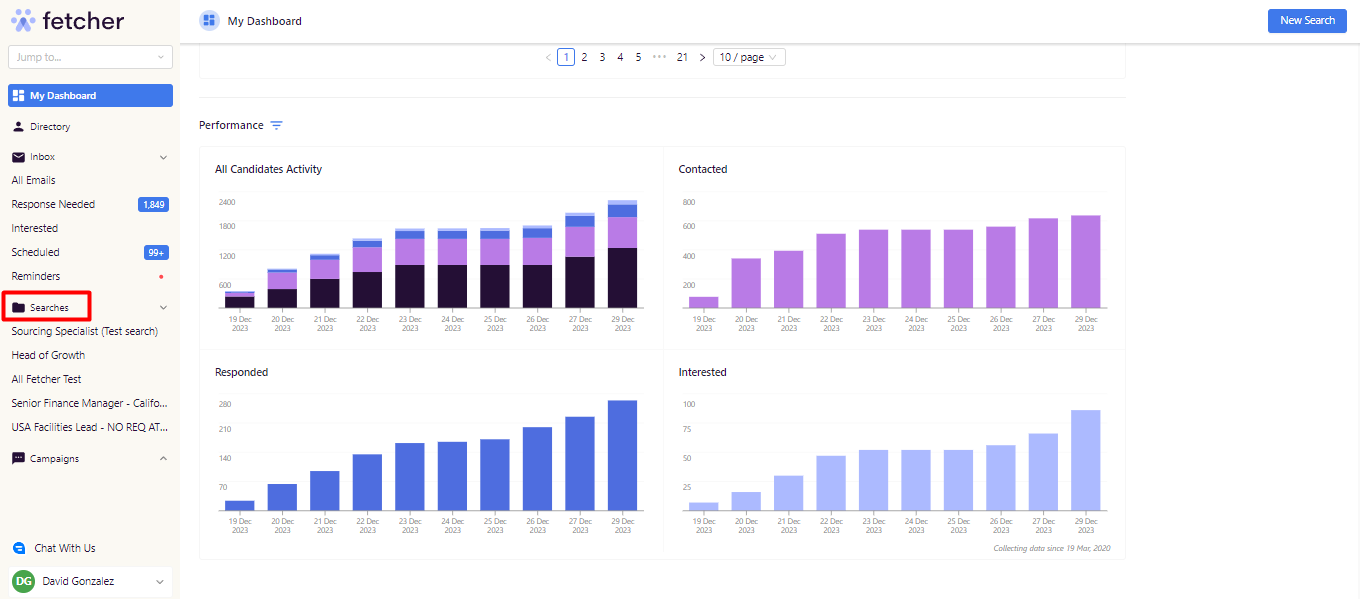
To create your "Response Templates", you need to look for the search you intend to edit the template located at the left side of your Dashboard under Searches.
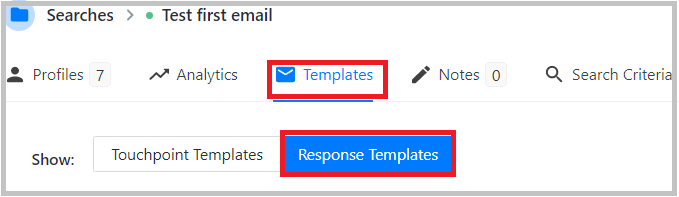
Once there, you will see all the searches you own and or are added as a watcher, You will look for the specific search you intend to edit your template and open that search. You will click on "Template" and after it opens you will click on "Response Templates".
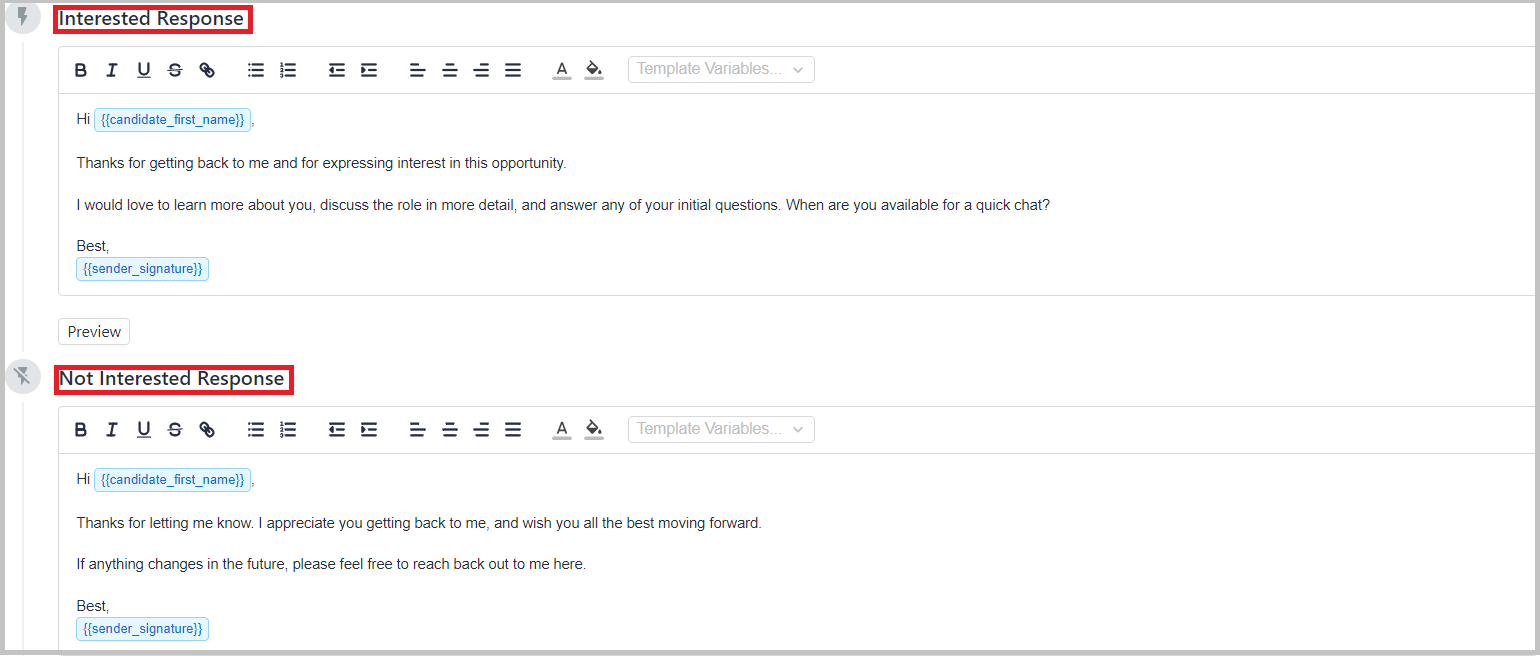
You will find "Two Boxes" that you will edit as your "Response Templates" for two different scenarios Interested Response that you will edit for those leads who are interested or appear to be interested in your offer and the other template you will also edit for those who are not, on the Not Interested Response box.
Responding to someone
You can find your responses over the Contacts, and there are several presets:
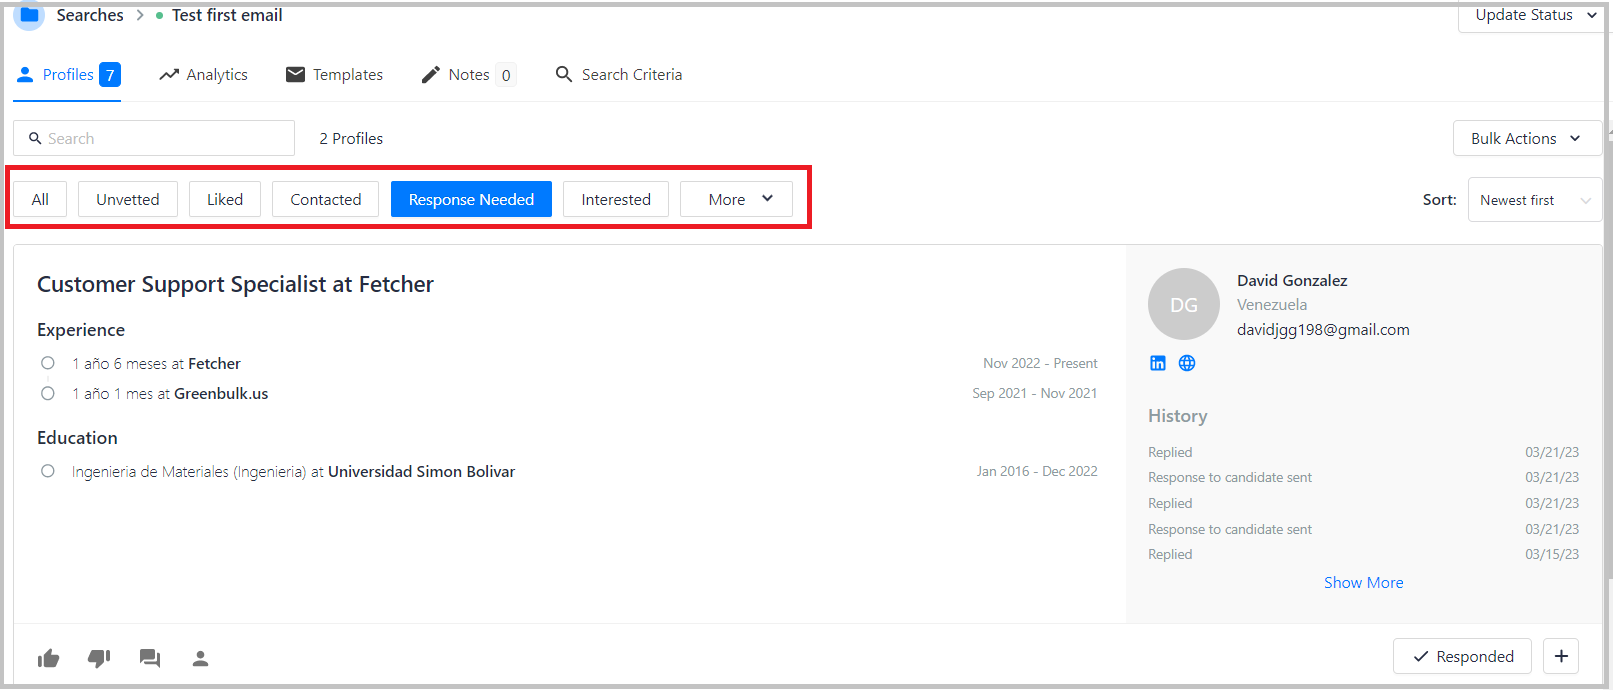
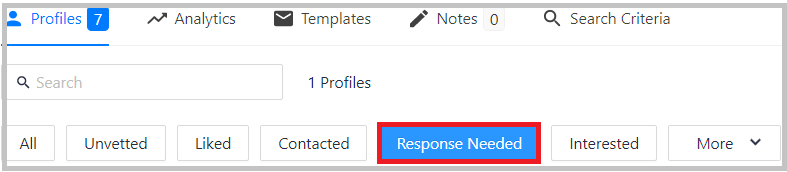
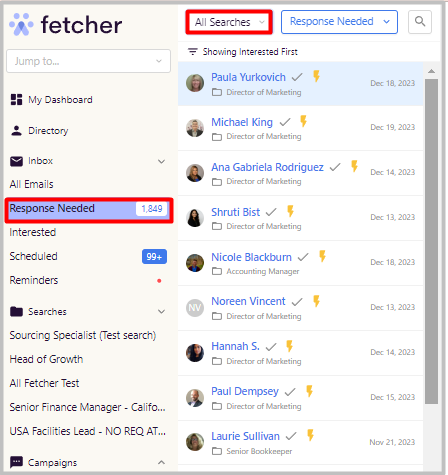
Go to "Response Needed" where you will find all candidates waiting on a response back.
Select on the list or search on the search tab the name of the lead you want to reply to and go to the contact card of the lead and click on "Responded".
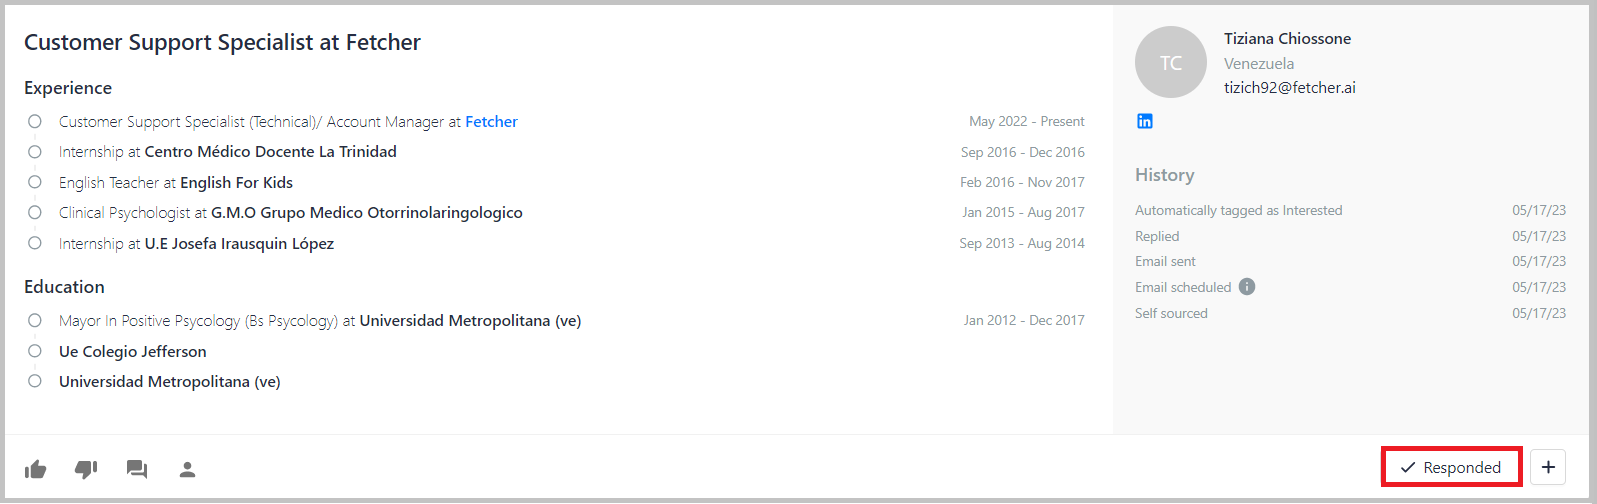
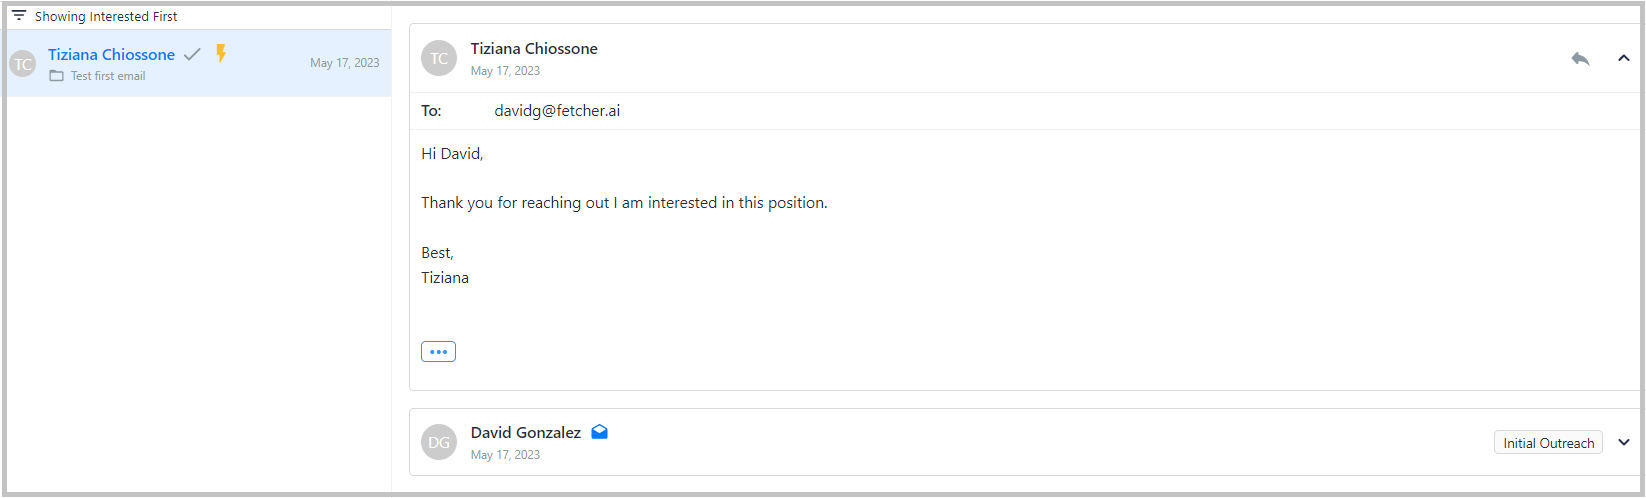
Once you click on "Responded" the email thread will open where you will be able to read the reply to the lead you contacted.
Next, you will go to the candidate's name on the left side and click on "Reply".
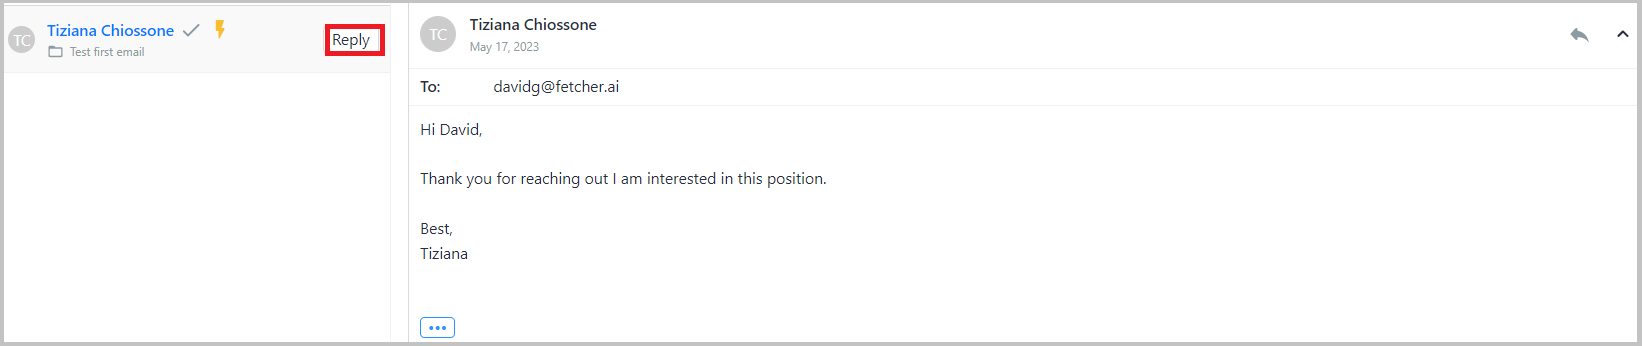
The "Response Templates" you have edited before will appear, depending on the case and answer of the lead it will show the Interested Response or Not Interested Response, this response you will be able to edit or alter it if needed or desired before sending it or simply send it as it was originally set to be.
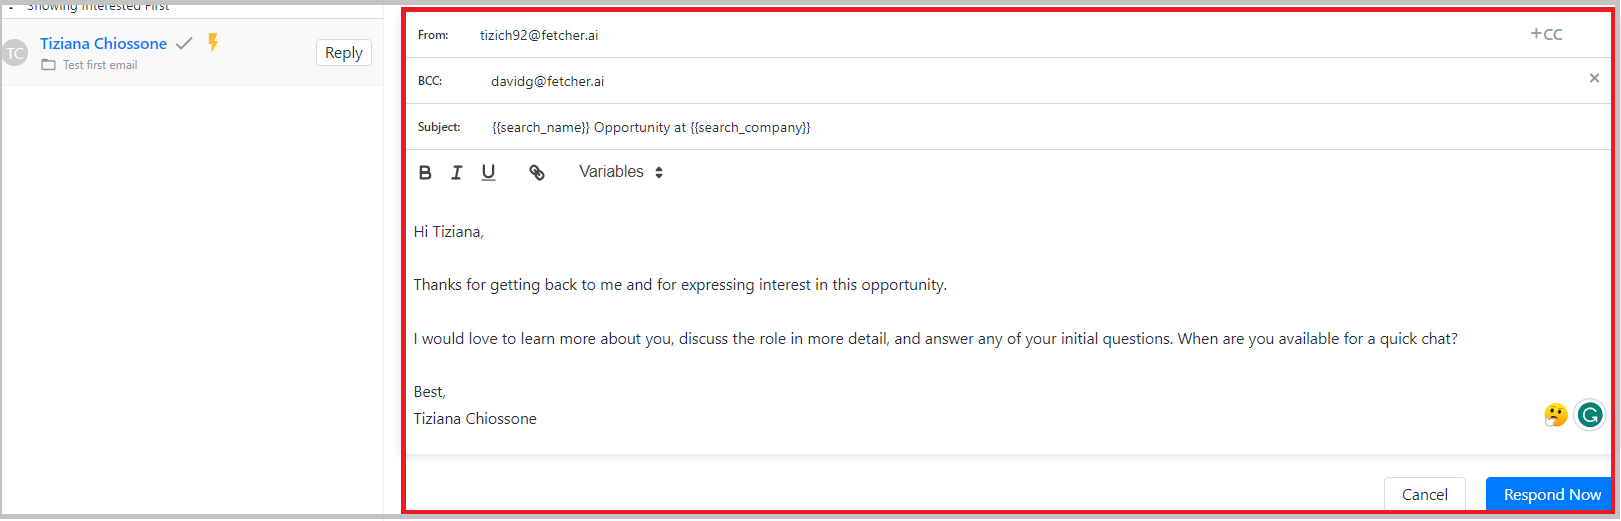
When you are done editing or you simply want to send the chosen "Response Templates" click on "Respond Now" and the email will be automatically sent.
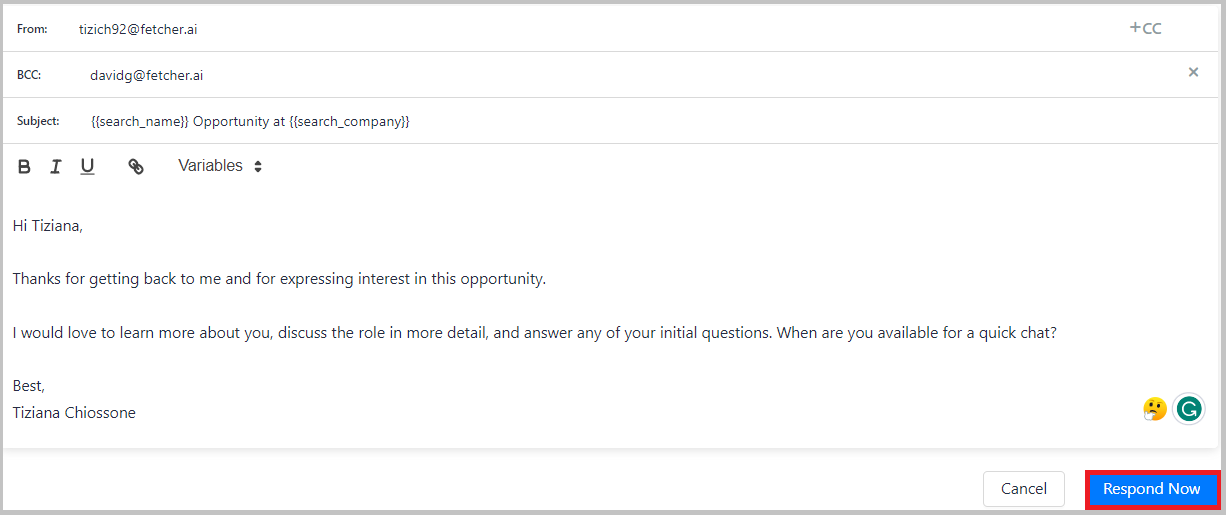
After clicking on "Respond Now" the email will appear as sent.
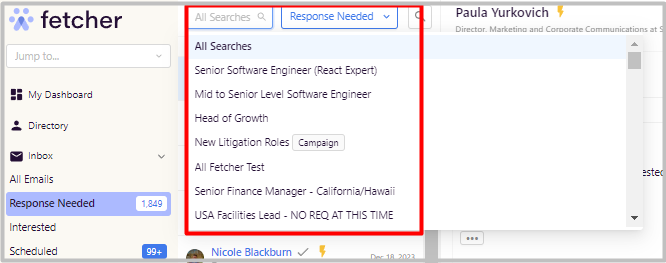
Where you can also filter by a specific search if needed, if this is the case you will just need to click on all searches and there you can select the one you are looking for to reply.
The process of replying to your emails is the same as explained before.
That's all it takes
You can go back to the "Response Needed" candidates and continue replying to your emails, giving feedback, or contacting new leads on the platform. Happy fetching!