Step 1 - Setting up your account with Email Sync (Starter Plan)
 Updated
by
Support Team
Updated
by
Support Team
Sync Email with Fetcher
Before getting started, it's recommended to sync your email account. Syncing will allow you to contact a candidate with your preferred email (company domain) instead of from our domain(first name.last name@mail.fetcher.ai).
To do this go to the menu bar on the bottom left, then click on Email & Calendar Settings. At the top of this page, you will see three options:
- Send via Gmail
- Send via Outlook
- Send via Fetcher
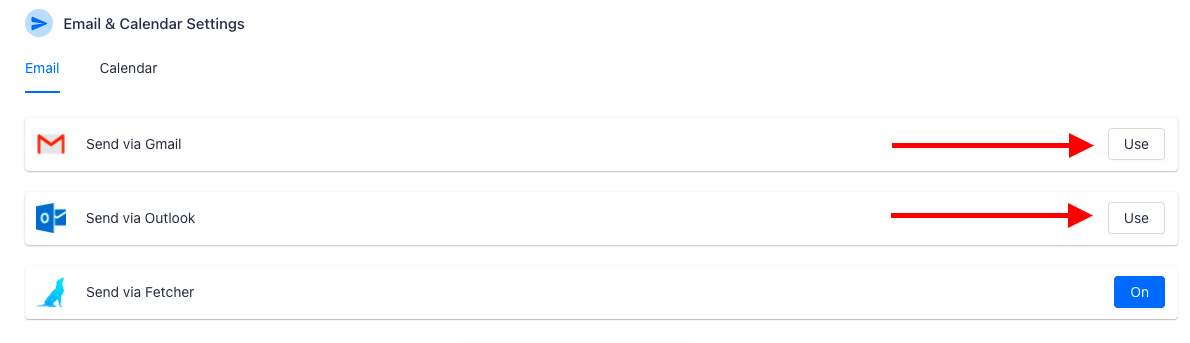
The default setting is "Send via Fetcher", which will send emails via the Fetcher server. To change that, connect your email account by clicking on the button that says Use to the right of your email provider. After that, you will be prompted to follow the on-screen commands to connect your email account.
Please note that, due to limitations with email providers, using aliases, auto-forwarding rules, or altering the subject line may result in missing threads within Fetcher. Read more about missing threads, here.
Updating your Email Signature
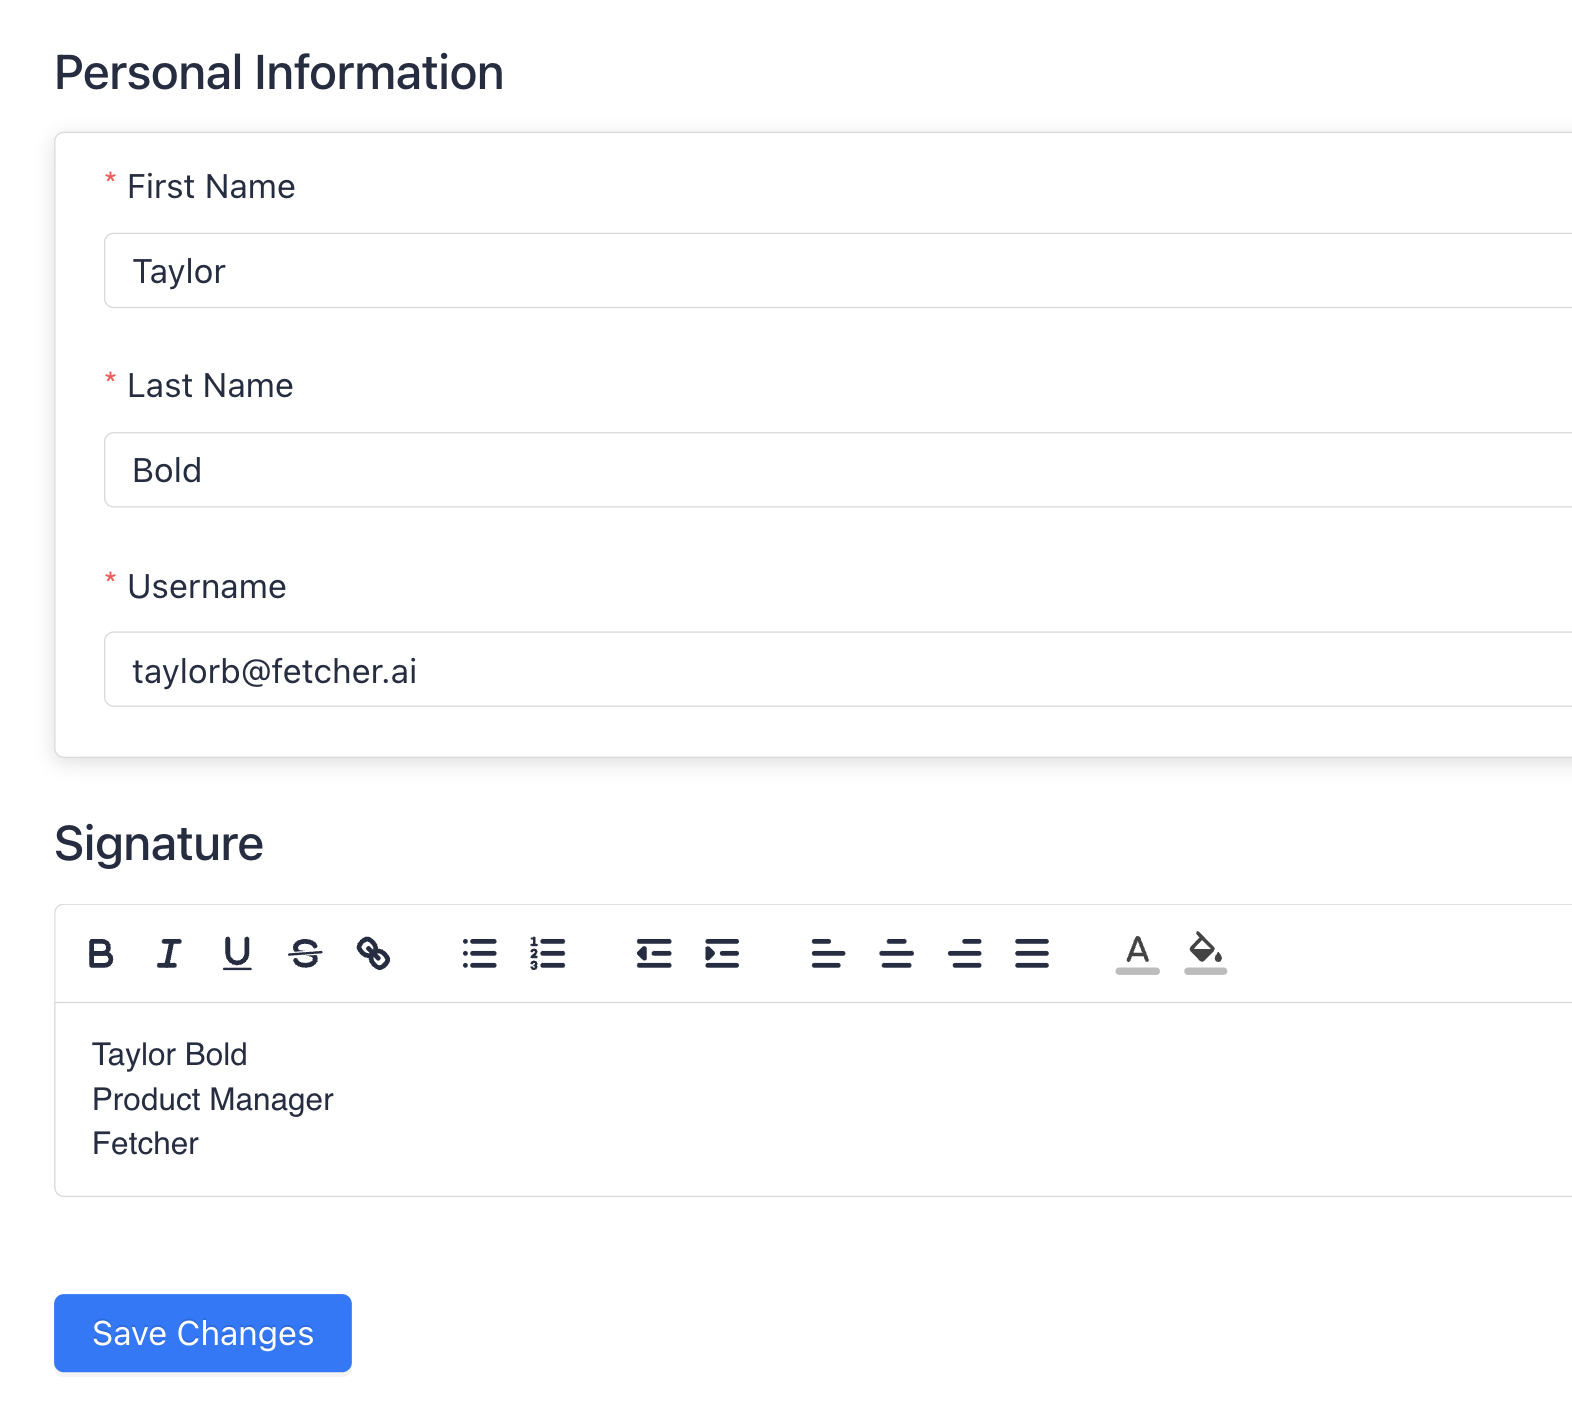
You have the ability to update your signature before sending out your emails from the platform!
- Go to My Account to make the updates

- Update the Signature section and save changes. We usually recommend just copying and pasting what is currently in your email signature.
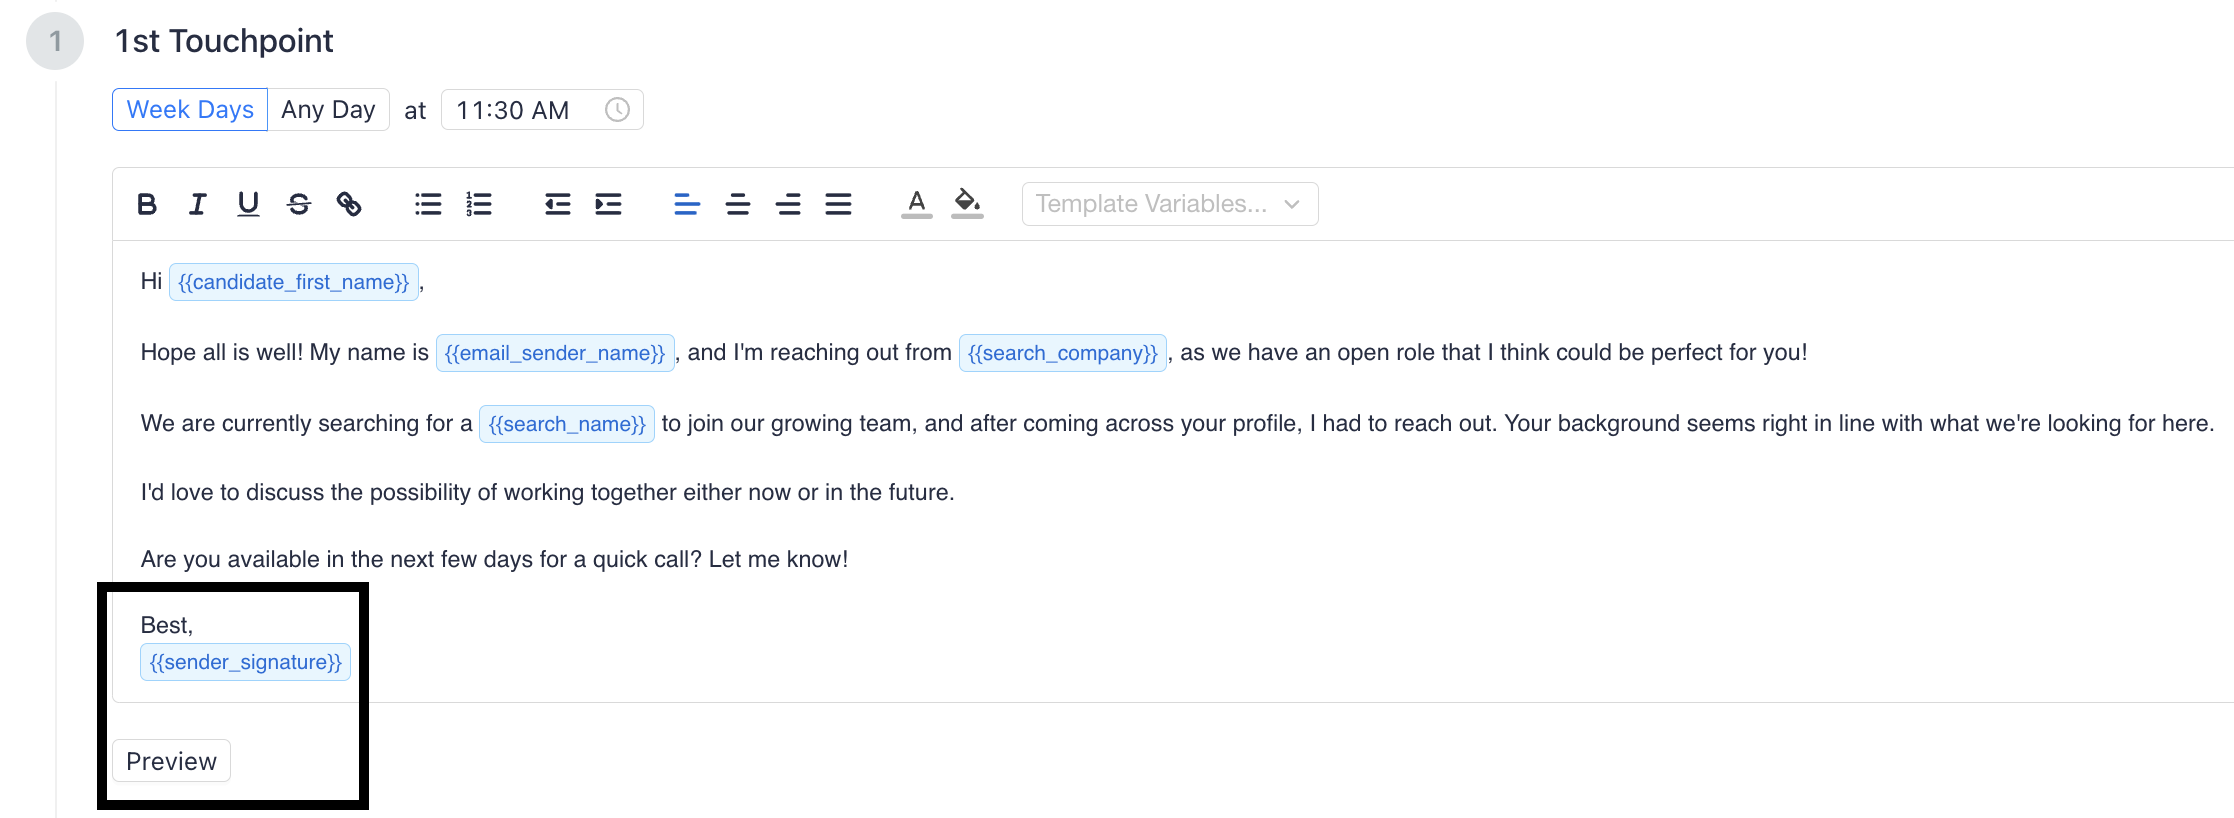
- Once added, head to your Email Templates and add the {{sender_signature}} variable to your email templates.
Next Steps
Open up a Search with Fetcher