Bulk Import Profiles w/ Enrichment into Fetcher
 Updated
by
Support Team
Updated
by
Support Team
Bulk Import w/ Enrichment
Adding prospects to Fetcher has never been easier! Using Bulk Import, you are able to add profiles into Fetcher and have profiles enriched automatically. It also checks for duplicate entries in your Directory based on a unique email address to improve the quality of data within your Directory.
Fetcher enriches your imported profiles based on emails addresses. If Fetcher finds a matching email address in the Fetcher database, the profile will automatically be enriched with job experience, education, and skills.
Follow the below steps to upload candidates in bulk to the directory.
Steps to Import
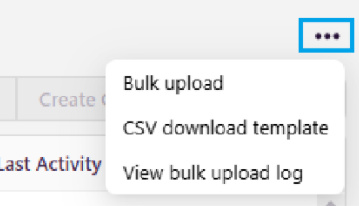
- Navigate to the Directory, and select CSV Download Template from the three dot menu
- Open the file, and fill in your spreadsheet with values that relate to the column headers. Do not move or change columns headers, as this will result in a failed upload.
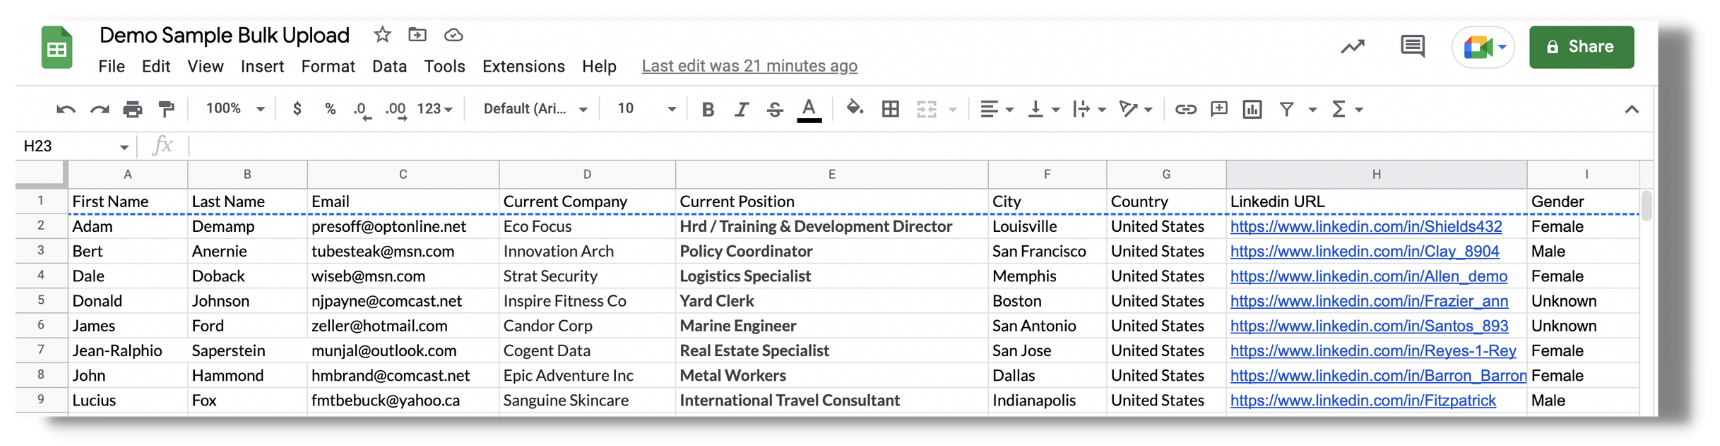
Fields
- First Name (required)
- Last name (required)
- Email (required)
- Current Company (required)
- Current Position (required)
- City
- Country
- Linkedin URL
- Gender
- Save the file on your computer as a CSV.
- Upload the file in Directory > Bulk Upload Candidates
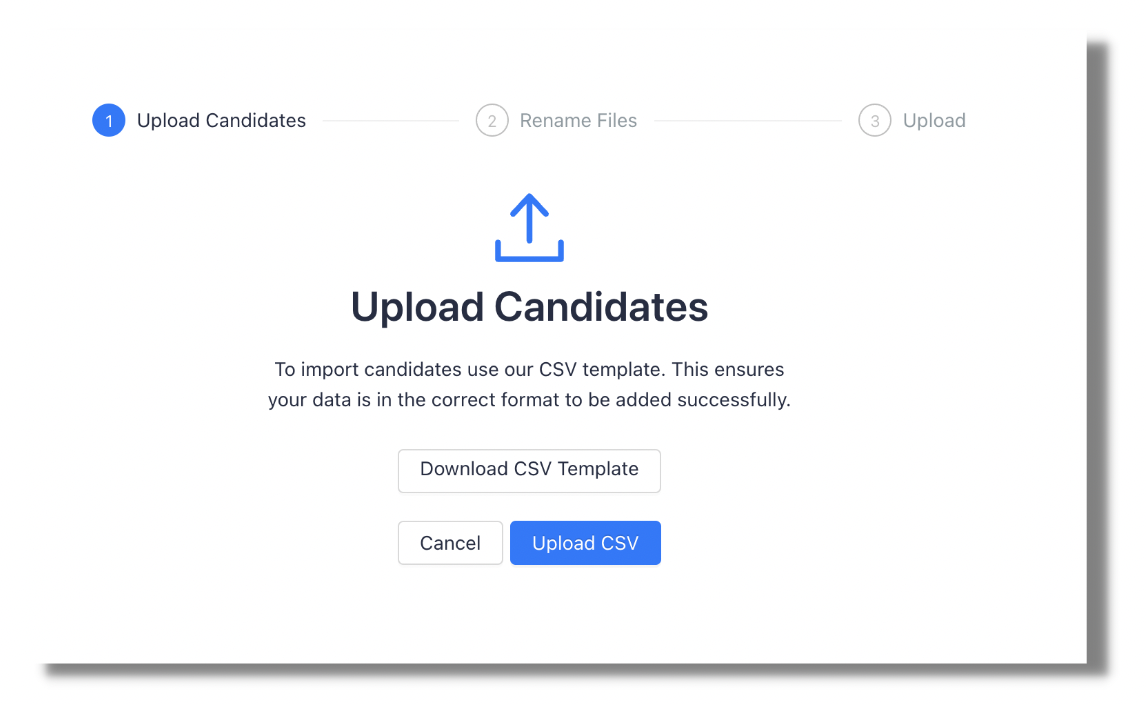
- Rename your file
- Upload CSV
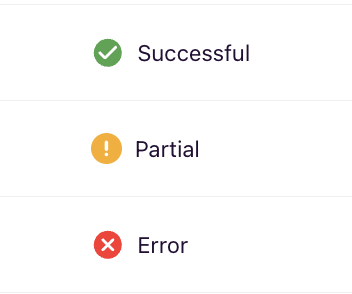
- View the status of the upload in the Directory > Menu > Candidate Upload Log, and review any errors by selecting and downloading the file.
- If necessary, correct the error that is listed alongside the prospect's information, save, and upload the file that contains the corrections.
After completing the bulk upload, these prospects will now be available for future campaigns.
What if there are errors?
If you view your Candidate Upload Log and find that an Import shows a status other than Successful, open the file and view the status column and message that populates next to each prospect.
Common error messages are listed below:
- “Candidate already on the directory" - This means the profile already exists in your Fetcher Directory
- "Error with uploading this candidate. Please submit another bulk import containing this candidate"
- "Required field is needed for this candidate. Please add the required field and submit another bulk import file."