Breezy Integration
 Updated
by
Support Team
Updated
by
Support Team
Connection
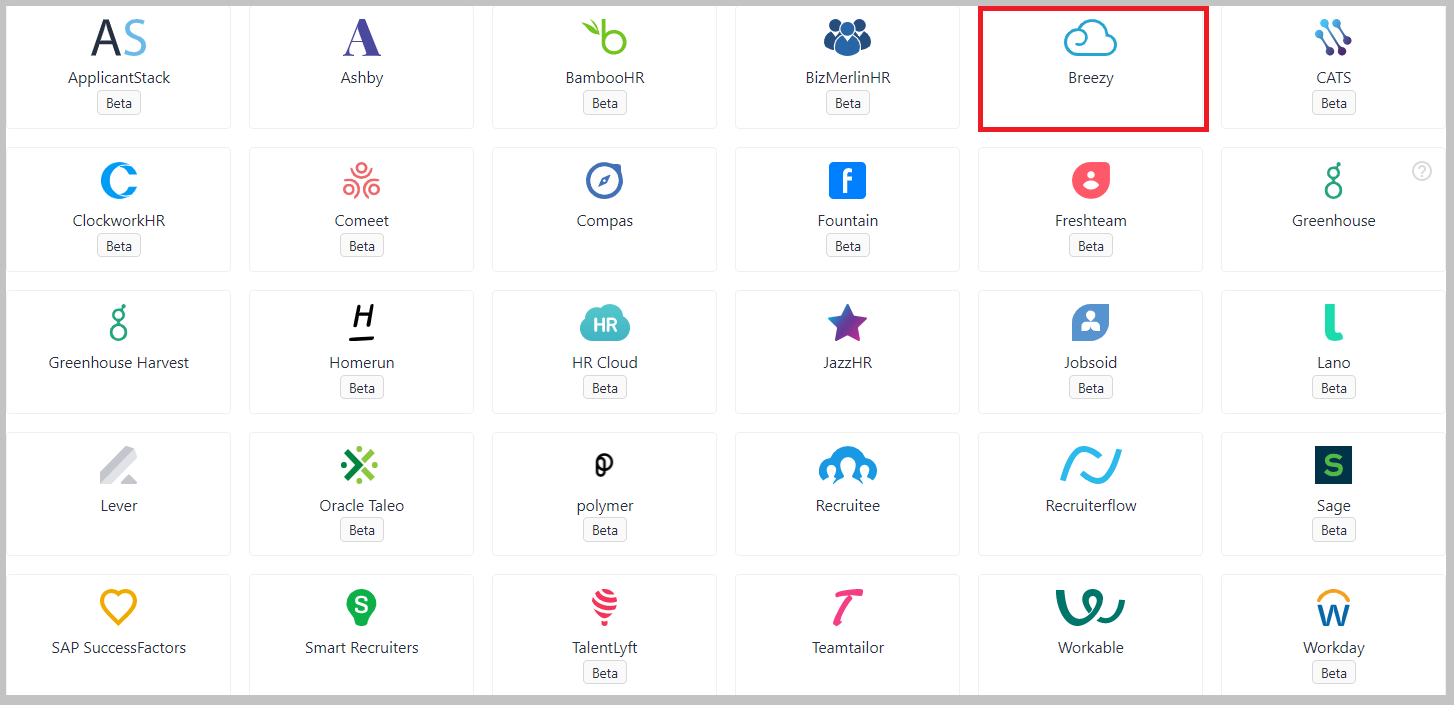
You can integrate your Breezy account with Fetcher by going to Settings in the left toolbar and clicking Integrations.
Then select Breezy.
Fetcher fully supports the Breezy integration. This means the integration includes deduping, as well as sending Candidates to Breezy.
To initiate the connection, enter your User and Password when prompted:
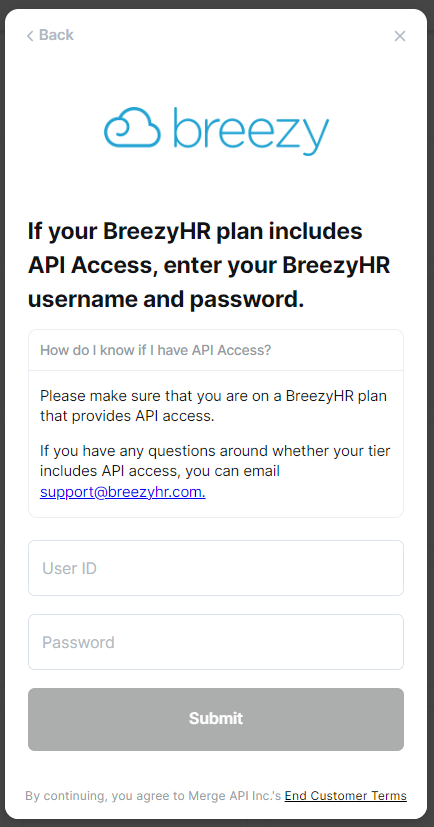
Enter your User and Password and Fetcher will begin establishing the connection.
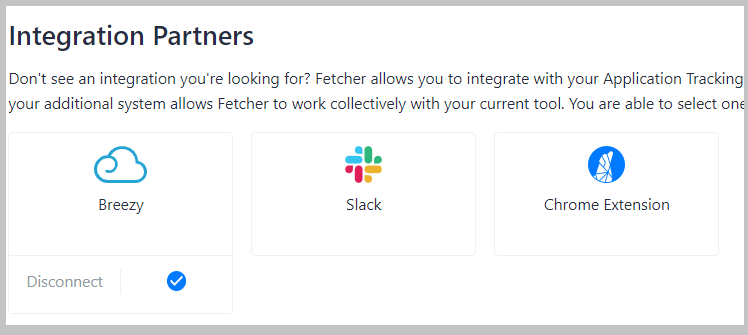
Upon connection, you will now see Breezy listed in your Integrations, with Breezy Triggers available for use.
Uploading Leads Manually
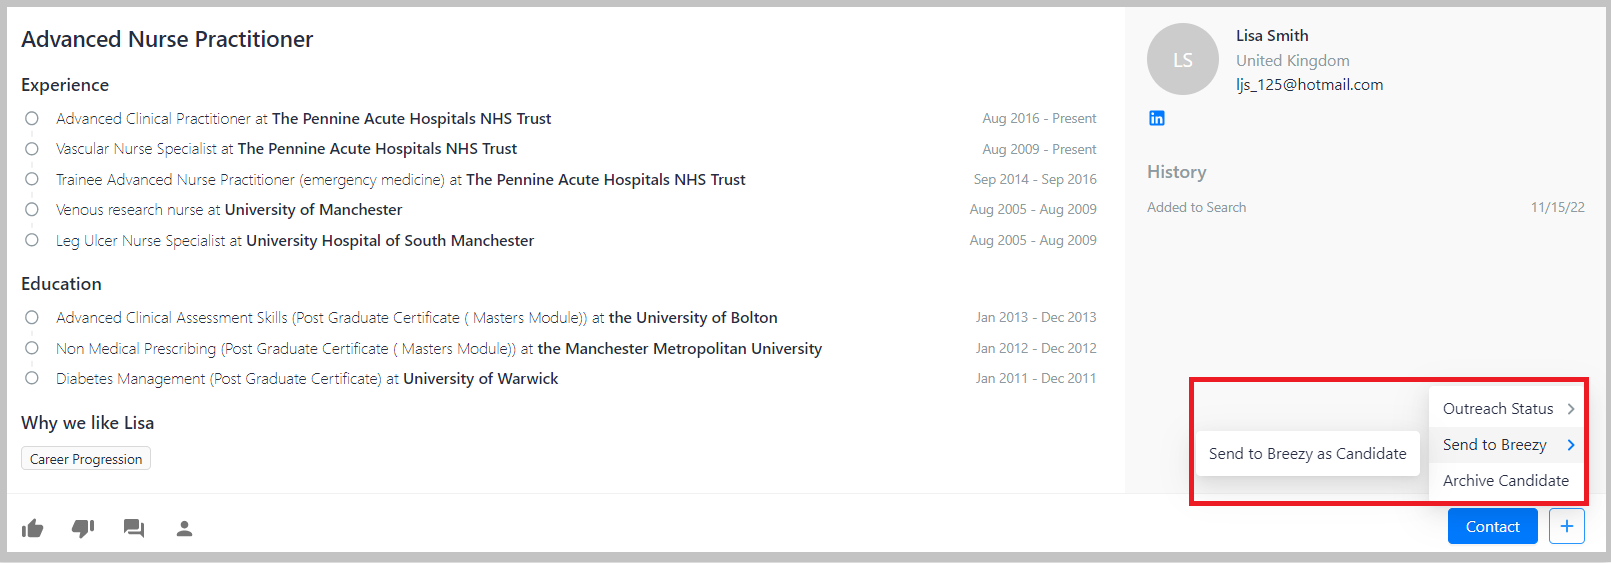
To manually upload simply click the '+' icon at the bottom right of the candidate card.
If you choose Send to Breezy as Candidate, you will be able to select the job in Breezy you want to send the lead to.
Uploading Leads Automatically
You can find your Automation Settings by going to Settings > Integrations .
Note that you will see all the positions you have access to, however, you will only be able to set the automation for those positions that you own.
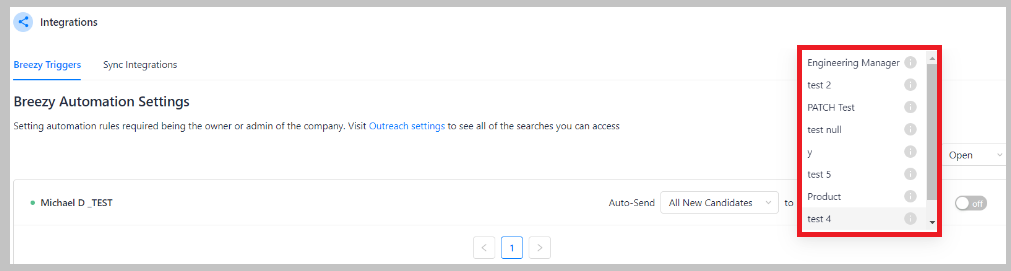
To the right of each position, you will be able to specify when and where you want to upload your leads.
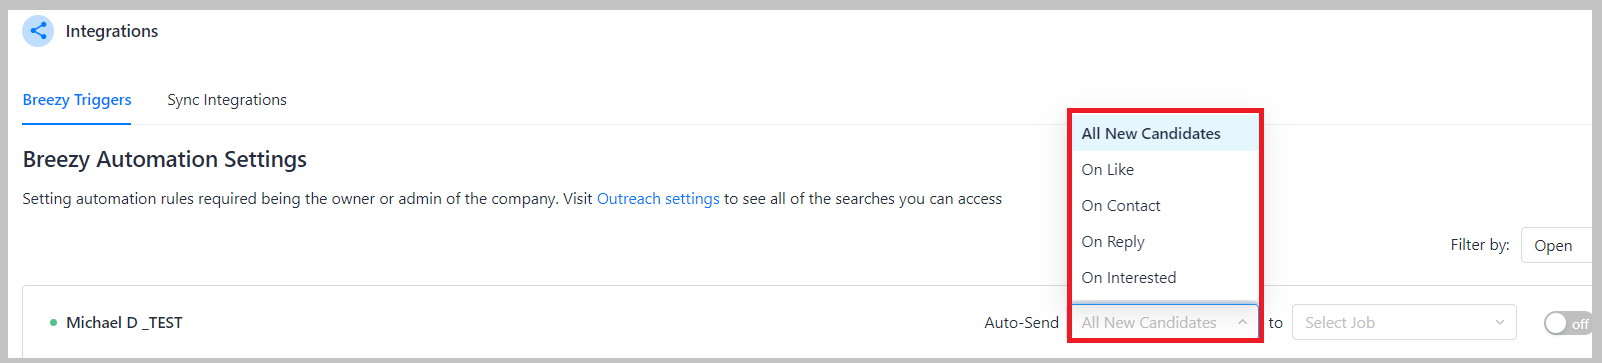
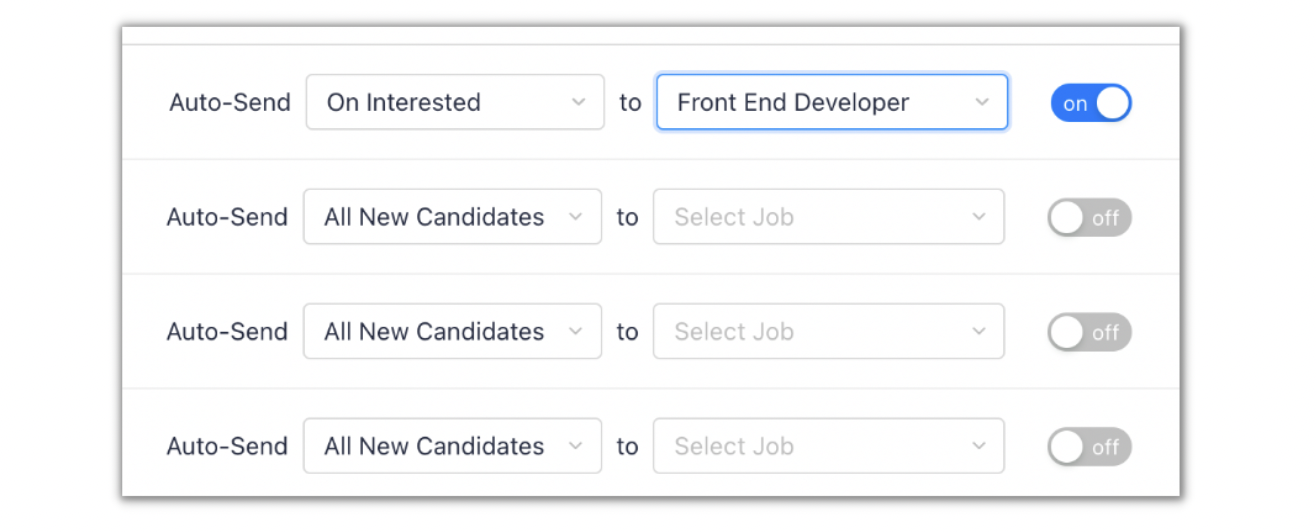
Step 1: Tell us when
Use the drop-down menu beside the word Auto-Send to choose at which point you would like leads to be uploaded to Breezy. You can choose to upload at any of 4 points in the process. The options are:

- All New Candidates - When you receive a batch all will be automatically uploaded.
- On Like - When you 'like' a lead while giving feedback.
- On Contact - When an email is sent to the lead.
- On Reply - When a lead replies to an outreach.
- On Interested - When Fetcher AI determines that a response indicates interest.
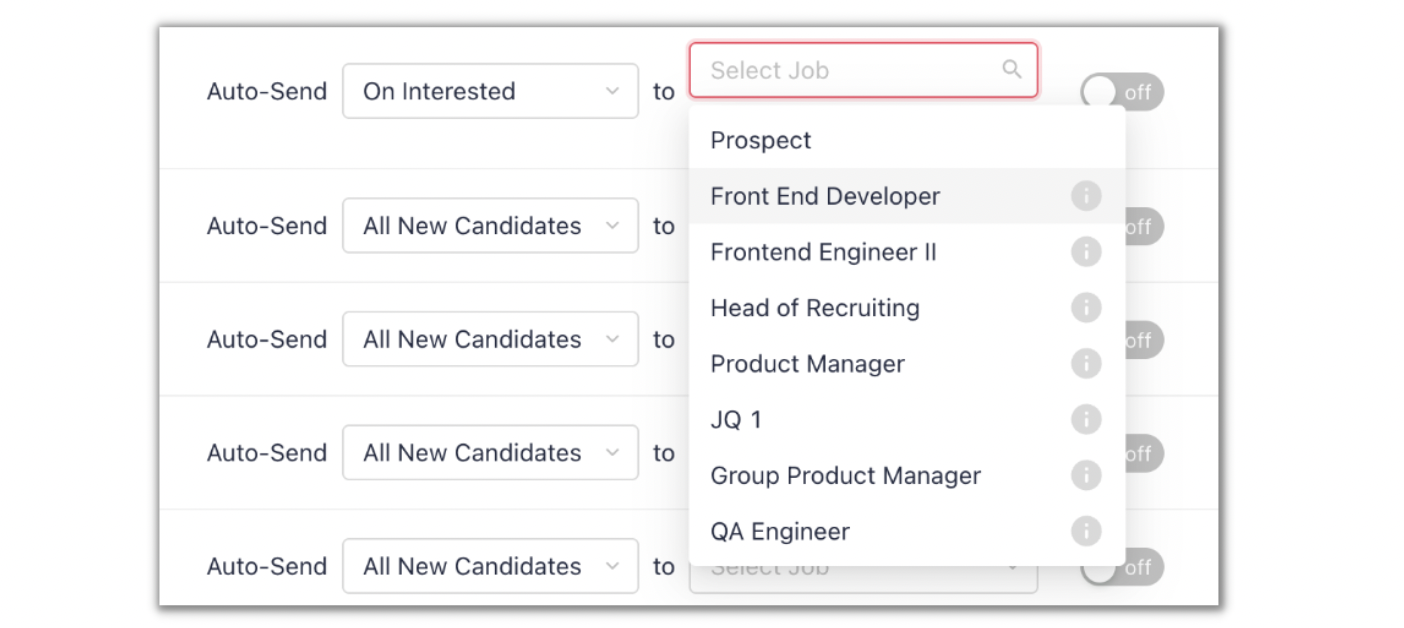
Step 2: Tell us where
When you have decided the point at which you would like your leads to be uploaded, you can then choose where these leads will be sent in Breezy.
- If you select Prospect, then your leads will be sent to Prospects in Breezy.
- If you select a specific job position, then your leads will be sent to that position in Breezy.
Step 3: Activate!
In order to activate these settings, you must toggle the On button so that it appears blue.
Disconnection
If you wish to stop syncing your Breezy account with Fetcher, simply disconnect it from your Integration page.