Uploading to your ATS
If you integrated your ATS with Fetcher you are able to upload leads both manually and automatically.
Uploading Leads Manually
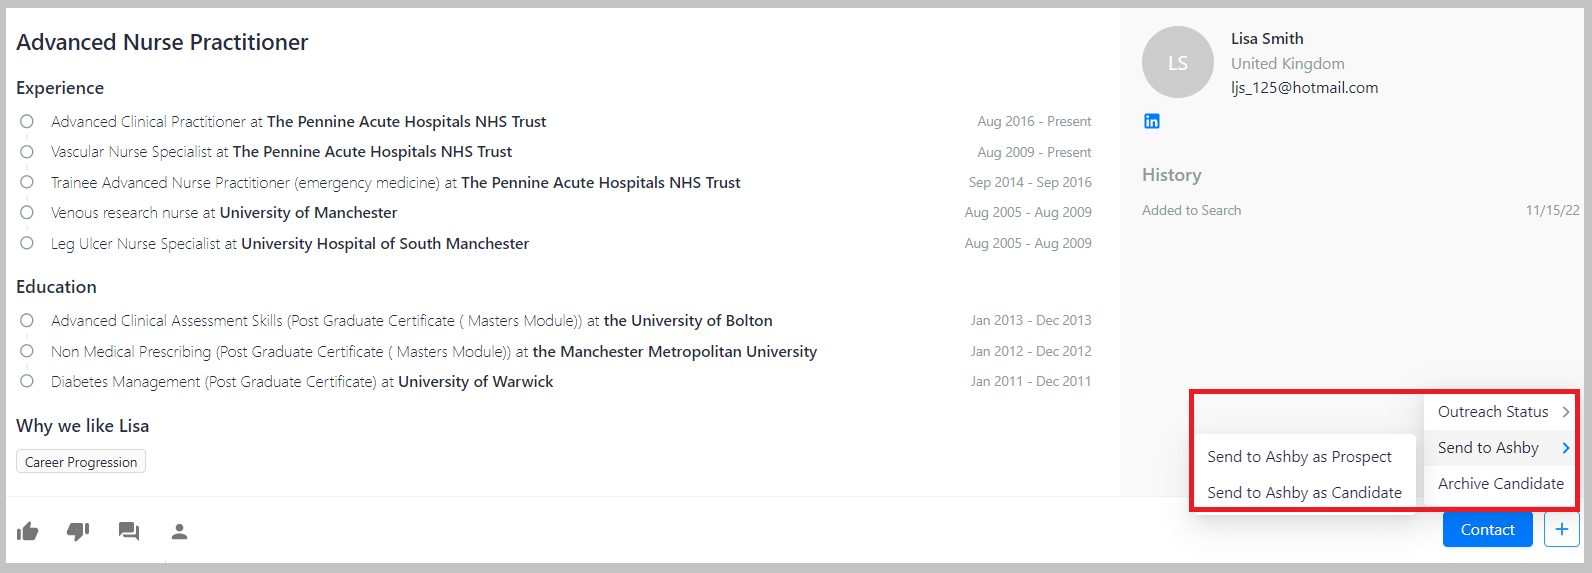
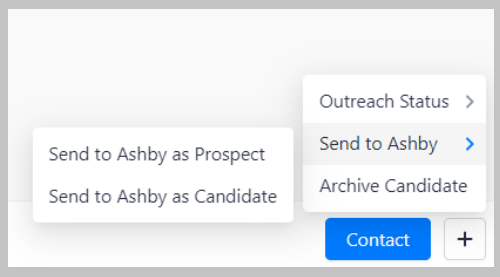
To manually upload simply click the '+' icon at the bottom right of a leads card selecting the correct option in the menu.
Uploading Automatically
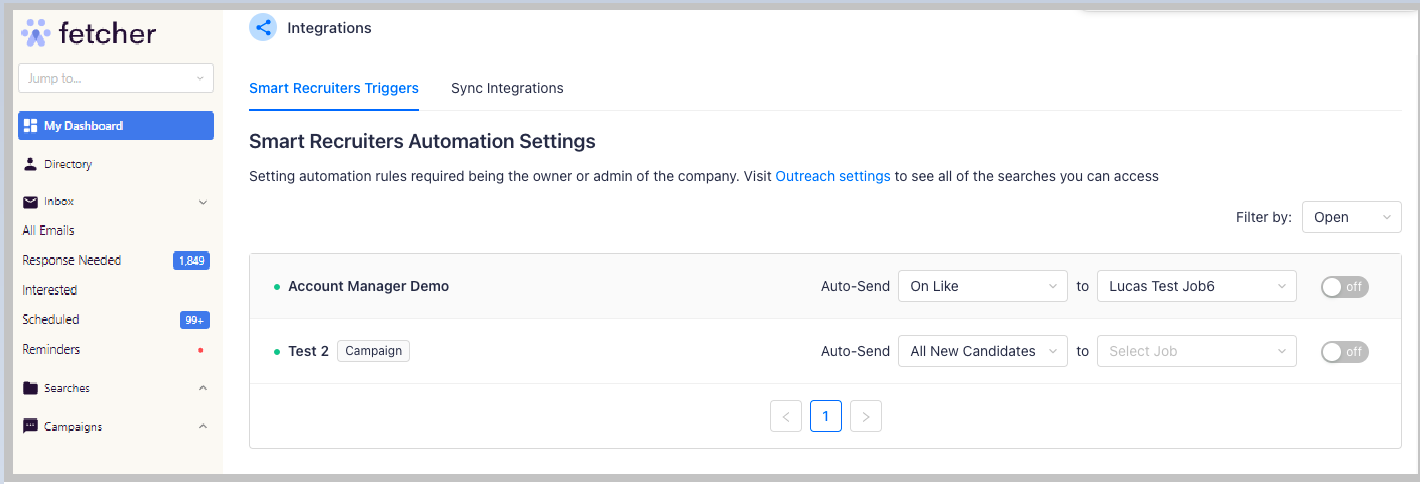
You can find your Automation Settings by going to the navigation bar at the bottom left > Integrations. There you will see ATS Automation Settings(if connected)
Each block will contain the controls for each individual position that you own.
Here you'll find a few different levels of automation that allow you to not only upload, but also control when those uploads are triggered.
Levels of Automation
Use the dropdown menu next to the word Auto-Send to choose which point you would like leads uploaded to your ATS. You can choose to upload at any of 5 points in the process. Those are:
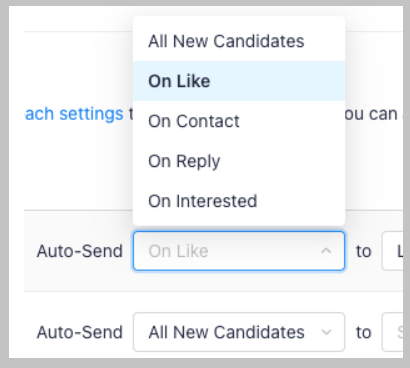
- All Candidates - When you receive a batch all will be automatically uploaded.
- On Like - When you 'like' a lead while giving feedback
- On Contact - When an email is sent to the lead
- On Reply - When a lead replies to an outreach
- On Interested- When someone replies and are tagged Interested by our algorithm.
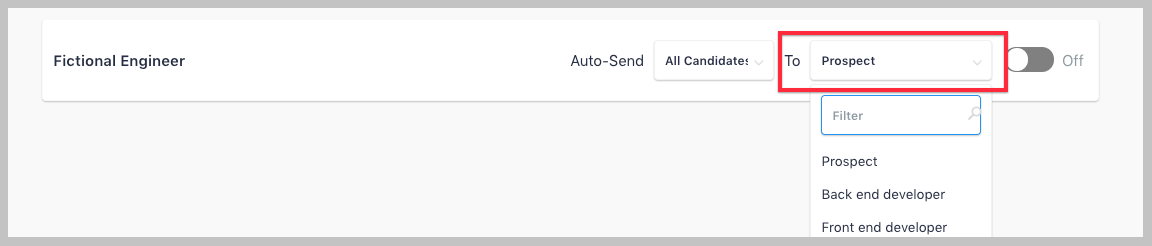
Sending leads to a specific position
Last but not least, you can also specify if a lead is sent as a 'Prospect' or 'Candidate', or even which position to add them to. You can view these options by clicking the 'To' dropdown menu on the individual positions.